How to Choose Plantation Shutters in Florida
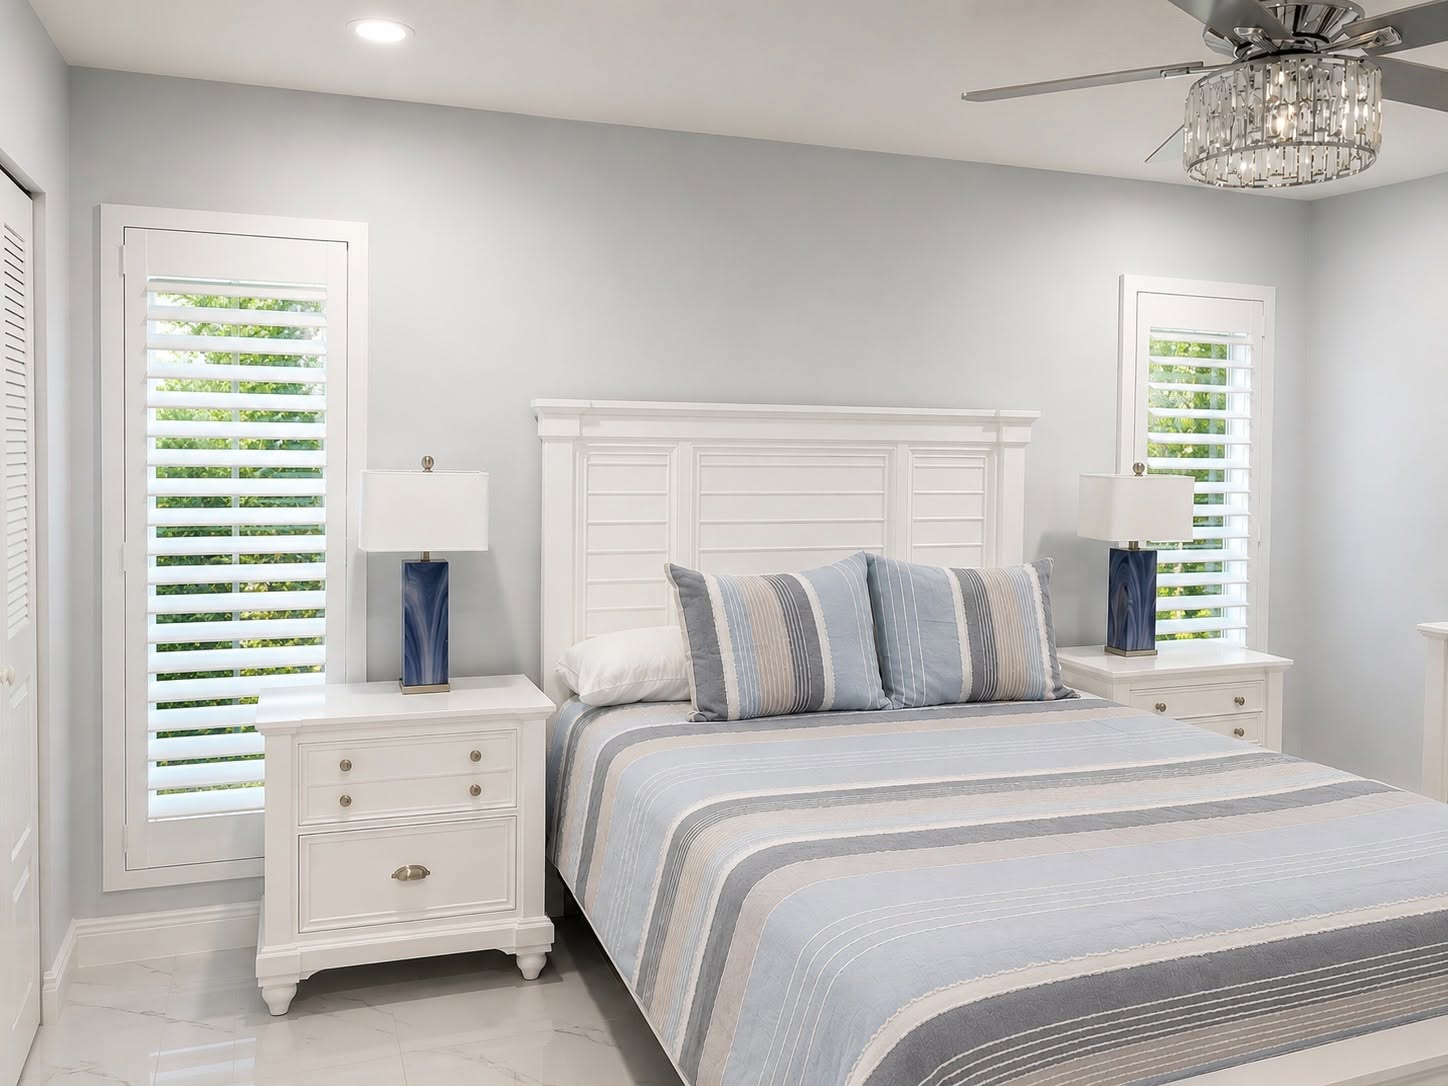
Plantation shutters look simple once they are installed: a clean frame, solid panels, and rows of louvers that tilt to manage light and privacy. Choosing them is less simple. Material, louver size, frame style, panel layout, window depth, color, hardware, and installation quality all affect how the finished shutters look and work.
That is especially true in coastal South Florida. A bright west-facing room in Palm Beach County has different needs than a shaded bedroom in Martin County. A wide sliding door in St. Lucie County should not be planned like a small bathroom window. Arches and angled windows common in Indian River County homes need precise templates rather than a standard rectangular insert.
The best way to choose plantation shutters is to work through the decisions in the right order. Start with how the room is used, then evaluate the window, the shutter material, the panel design, and the details that affect daily operation. This guide explains each choice in plain language.
Quick answer: Good plantation shutters should be designed as part of the window, not treated as a one-size-fits-all covering. Prioritize accurate measuring, stable material, sensible panel proportions, useful light control, and a written warranty. Style choices matter, but fit and construction determine whether the shutters still work well years later.
Plantation shutters are rigid interior window coverings made from hinged panels fitted inside a frame. Horizontal louvers rotate together to manage daylight, view, and privacy, while the panels swing open for full glass access. They are architectural window treatments, not impact-rated hurricane protection. Because they are measured and built to remain at the window, early planning matters more than it does with a movable curtain or shade.
1. Start with the room, not the sample book
Before comparing colors or louver sizes, decide what the room needs the shutters to do. Most rooms require some combination of daylight, privacy, glare control, heat management, and visual balance, but the priorities are rarely equal.
In a street-facing bedroom, privacy may come first. In a waterfront living room, preserving the view may be more important. A home office may need glare control during video calls, while a kitchen window needs panels that clear the faucet and can be wiped clean. In a nursery, easy room darkening may matter more than an unobstructed daytime view.
Write down the top two needs for each room. That short list will guide the later choices. For example:
- Living room: keep the view open and reduce afternoon glare.
- Bedroom: provide privacy without making the room feel closed all day.
- Kitchen: clear the counter and resist everyday splashes.
- Bathroom: provide dependable privacy and use a finish suited to the location.
- Office: control screen glare while keeping useful daylight.
One shutter configuration does not have to be repeated throughout the entire house. Consistent color and frame details can create continuity even when louver sizes, divider rails, or panel layouts vary by room.
2. Look closely at the window opening
The window determines what is physically possible. Measure more than height and width. Note the depth of the opening, the position of locks and handles, the direction the window operates, the condition of the trim, and anything nearby that a panel could hit.
An inside-mounted shutter sits within the window opening and usually creates a built-in appearance. It requires enough usable depth and a reasonably square opening. An outside-mounted shutter attaches around the opening and can help when the window is shallow, noticeably out of square, or crowded by hardware. “Inside” and “outside” refer to the mounting position, not whether the shutter is indoors or outdoors.
Also check panel swing, tilt-in cleaning, cranks, alarm sensors, locks, sill depth, and whether adjacent windows should read as one opening or separate units. Custom should mean that the frame and panel configuration respond to the actual opening—not only that the width and height are nonstandard.
3. Compare shutter materials honestly
The three broad material categories are real wood, polymer or vinyl, and engineered composites. Product names vary, so ask what the shutter is actually made from rather than relying on labels such as “wood-like,” “hybrid,” or “premium.”
Real wood is valued for natural grain, relatively light weight, repairability, and a crisp painted or stained finish. Basswood is common in premium shutters because it is stable, strong for its weight, and machines cleanly. Poly shutters are typically PVC or another synthetic material; their advantages include moisture resistance and easy wiping, though some systems are heavier or require reinforcement. Composite can mean wood fiber, MDF, polymer, or a blend, so its moisture, weight, and panel limits are product-specific.
No material wins every category. The right comparison includes panel size, location, desired finish, shape, expected use, warranty terms, and repair options. A separate real wood vs. poly shutter comparison in this series explores those tradeoffs in depth. Ask any provider for a written material specification and the maximum recommended panel dimensions.
4. Choose a louver size for the view and the scale of the window
Louver size changes both the appearance of the shutter and the view through it. Common nominal sizes include 2½, 3½, and 4½ inches, although exact choices vary by maker.
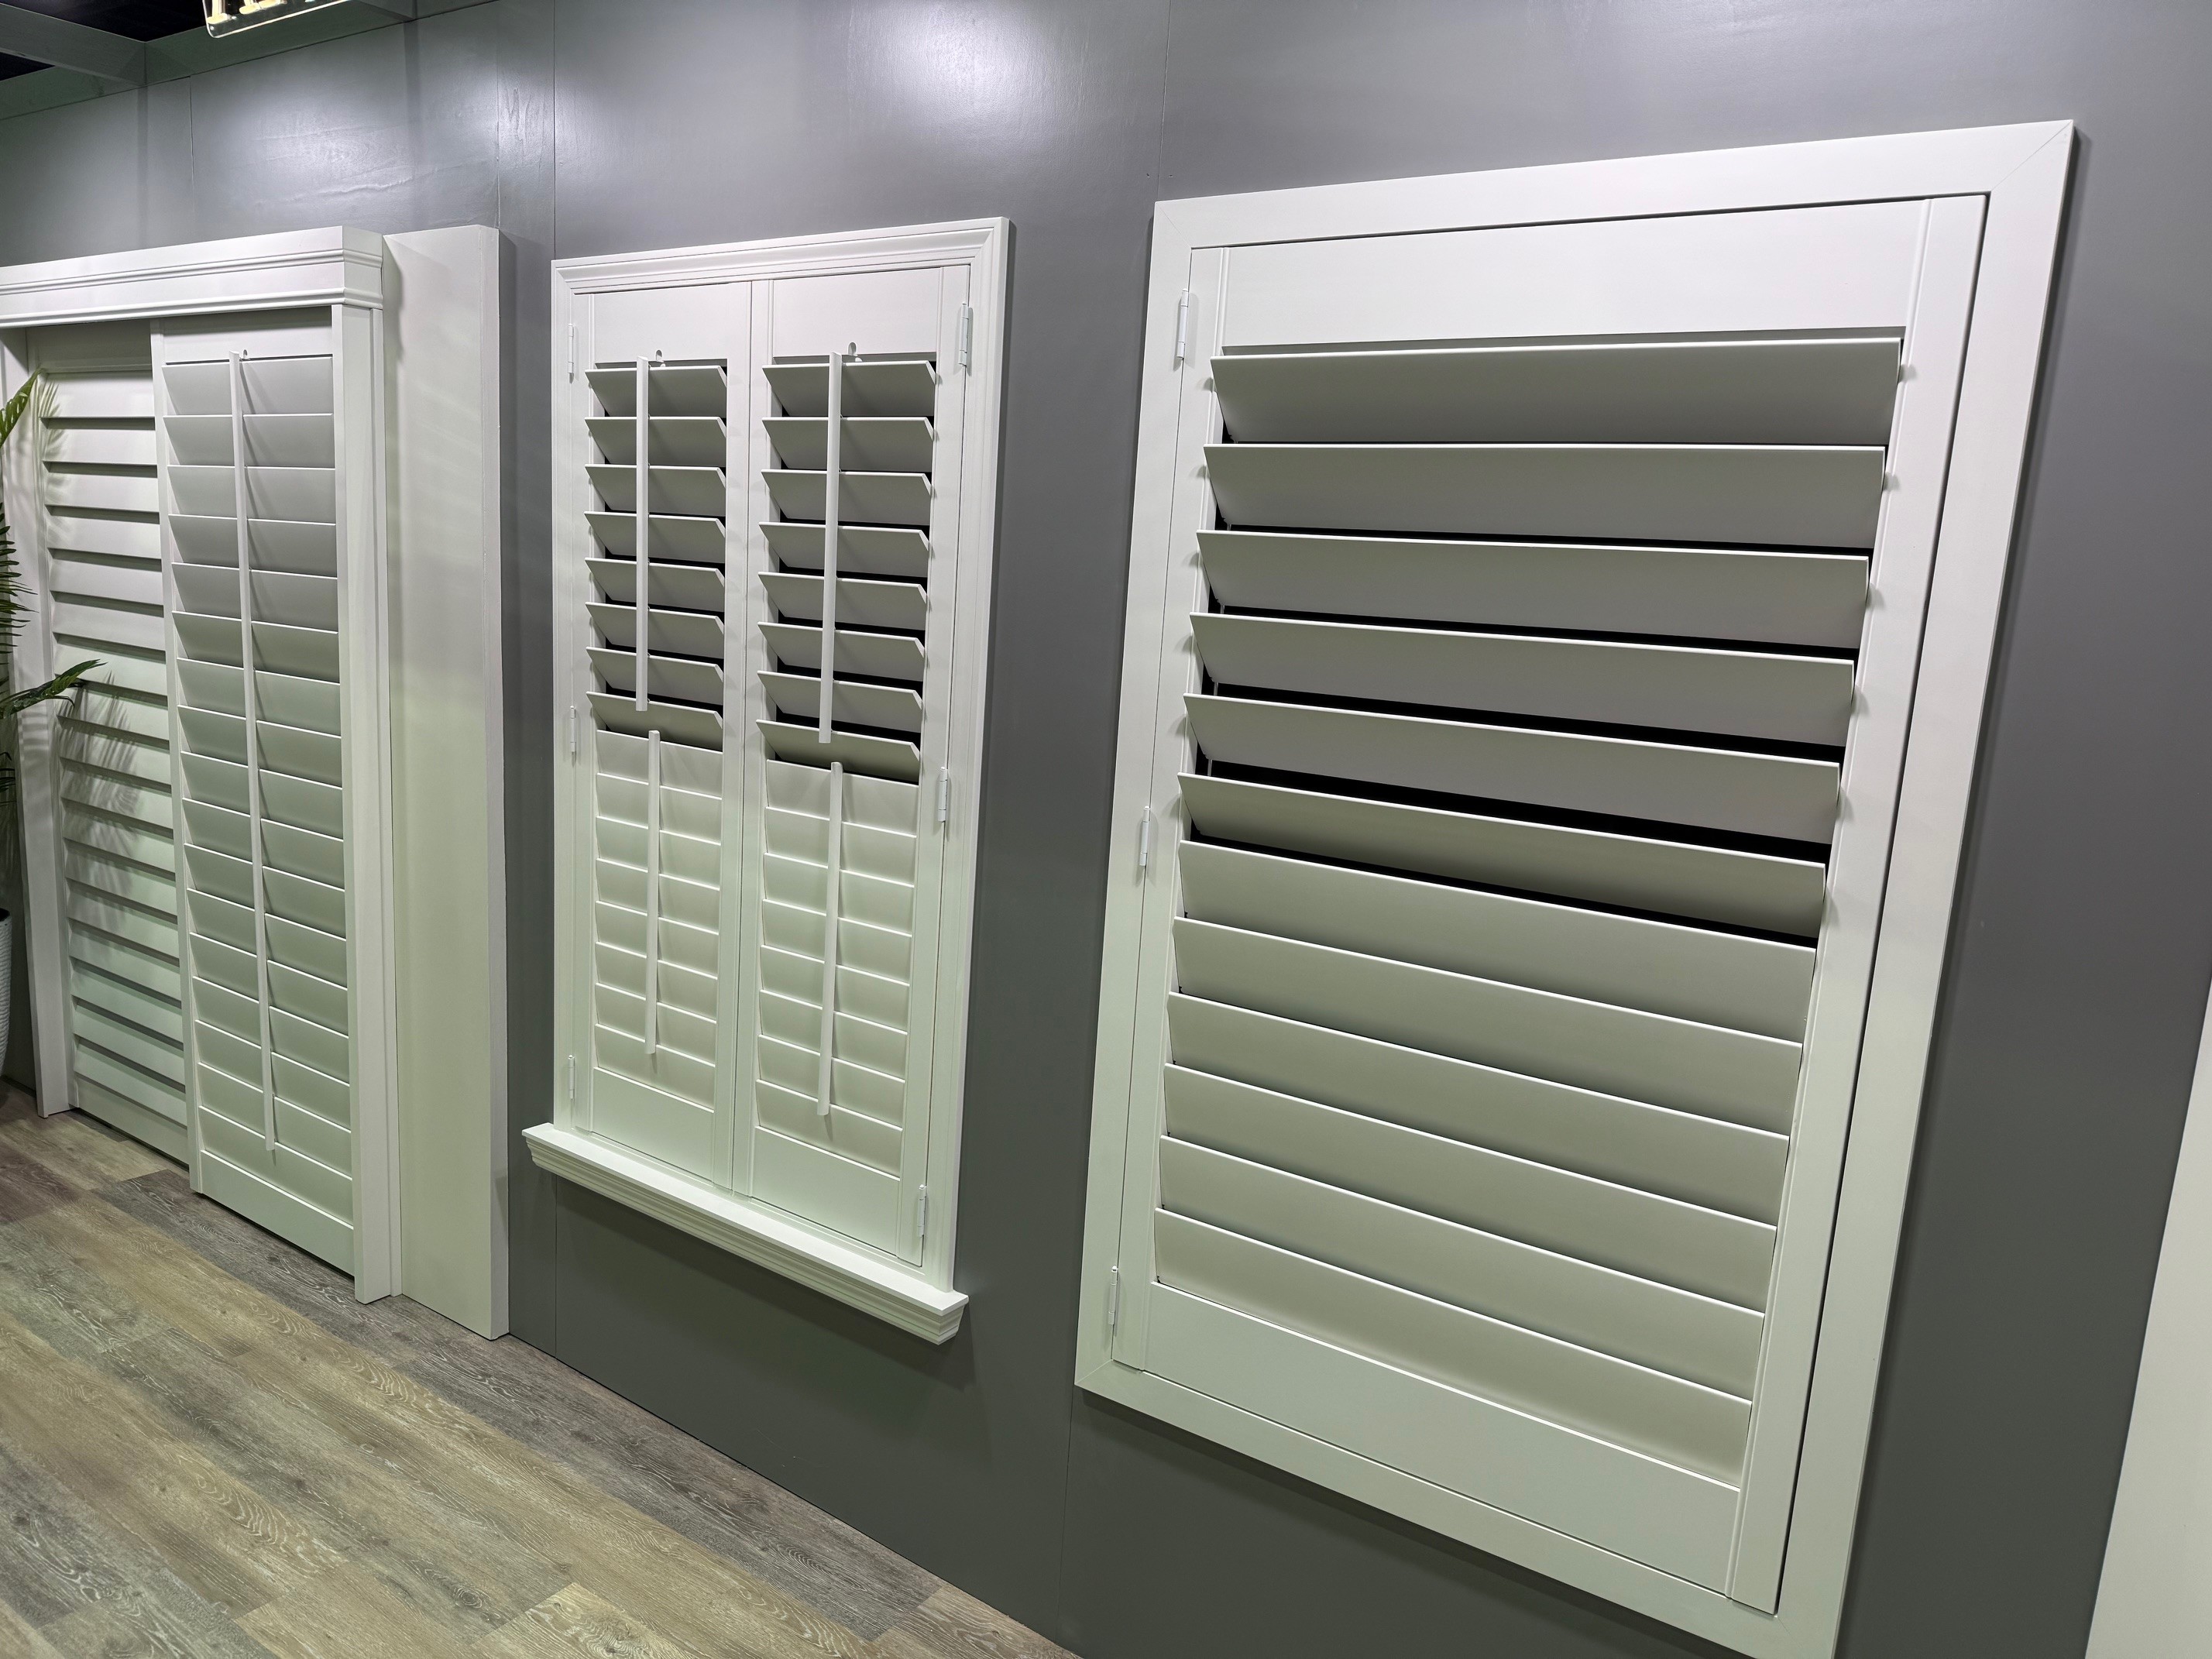
Smaller louvers create more horizontal lines and a more traditional, detailed look. They may suit smaller openings, historic interiors, or homeowners who want the shutter to feel more visually present. Larger louvers use fewer rows. When open, they generally provide a broader view and a cleaner, more contemporary appearance. They also project farther forward and backward as they rotate, so the window must have enough clearance.
For many Florida homes, 3½-inch louvers are a versatile middle choice. That does not make them automatically correct. A tall great-room window may benefit from a larger louver, while a narrow bathroom opening may look better with a smaller one. Place a full-size sample at the actual window and look at it from across the room. A small sample viewed at a table cannot show the final scale.
Remember that louver count affects the composition. If an installer changes louver size only to make fabrication easier, the result may not match the architecture you imagined.
5. Plan the panel layout around the glass
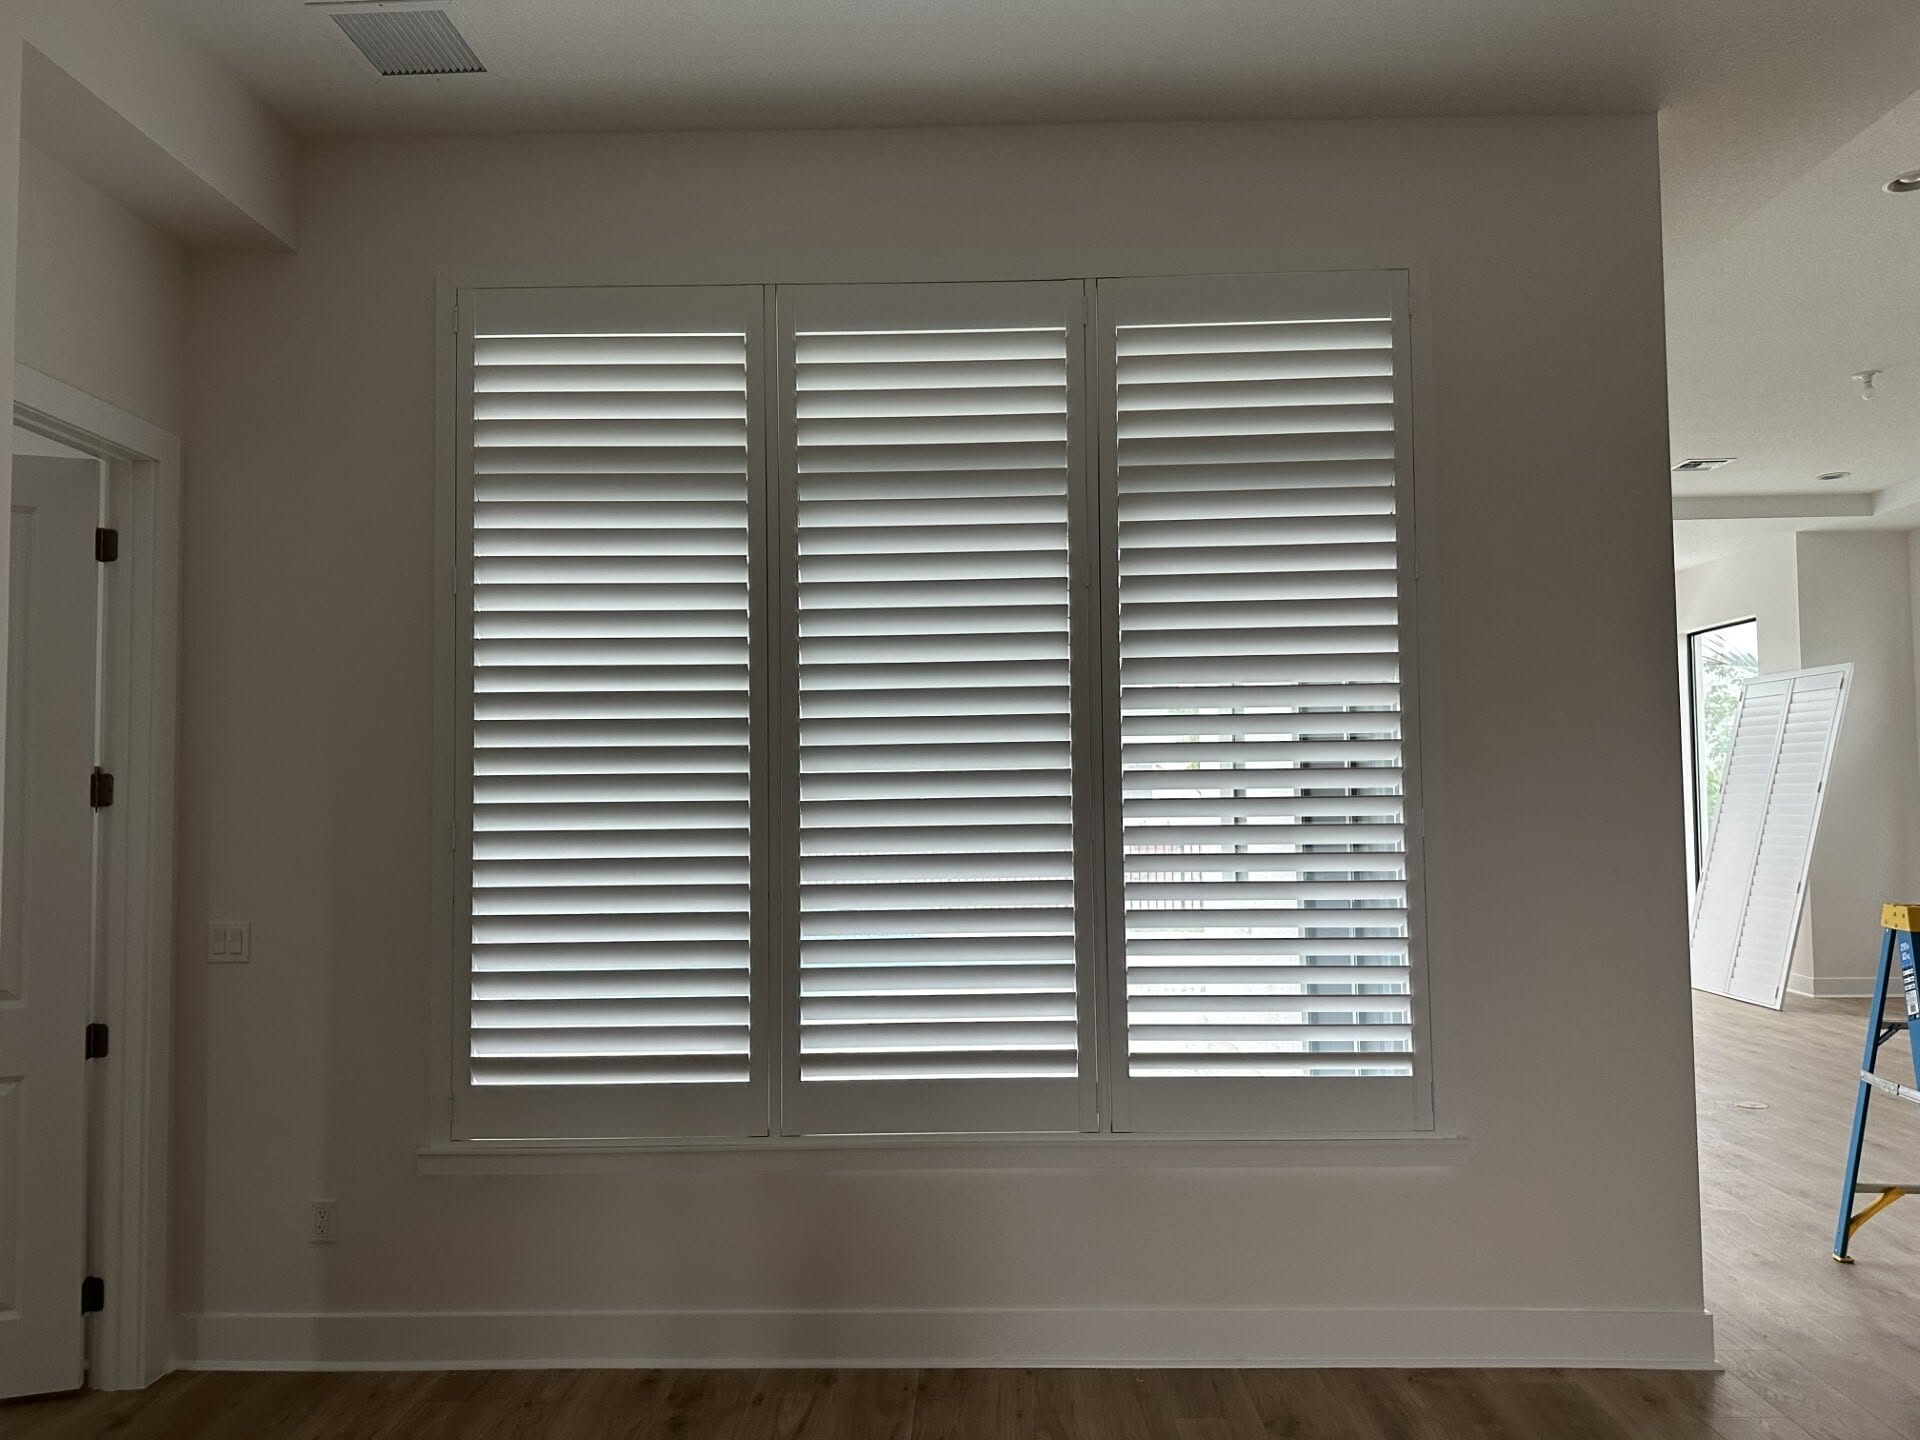
Panel layout is one of the most overlooked shutter decisions. A pair of panels can meet in the center, several panels can fold together, or a wide opening can be divided into multiple framed sections. The goal is to align vertical stiles and horizontal rails with the window’s existing structure whenever practical.
If a shutter stile lands in the middle of a single uninterrupted pane, it may divide the view unnecessarily. If it lines up with a window mullion, it tends to disappear into the architecture. The same principle applies to divider rails. A divider rail separates upper and lower groups of louvers so they can tilt independently. It can be useful for privacy—close the lower section and leave the upper section open—but it looks most natural when positioned near an existing sash rail.
Ask to see a drawing or clear description of the proposed layout before approving an order. For wide windows, discuss how many panels will be used, which direction they will hinge, where they will stack when open, and whether the frame will include intermediate posts.
Fewer panels may mean a cleaner view, but a very wide panel can be heavy and require more swing clearance. More panels can be easier to operate, yet introduce additional vertical lines. Good design balances those concerns rather than maximizing or minimizing panel count by rule.
6. Decide how you want to tilt the louvers
Traditional shutters use a visible tilt rod attached near the center of the louvers. Moving the rod rotates the group. It creates a familiar shutter appearance and makes the operating mechanism obvious.
Hidden or rear-tilt systems connect the louvers through hardware placed toward the side or back. They provide a cleaner front view and are popular in modern interiors. They are not literally invisible when viewed from every angle, and the mechanism should still be accessible for service.
Neither style is inherently more functional for every home. Choose based on appearance, ease of use, and the quality of the actual hardware. Test a full-size sample. The louvers should move together smoothly, hold their position, and not feel loose or overly stiff.
For tall panels, consider whether one tilt system will control every louver or whether a divider rail will create independently adjustable upper and lower sections. Independent sections can be helpful in homes close to sidewalks, neighboring properties, or waterways where privacy changes throughout the day.
7. Select a frame that works with the trim
The frame finishes the edge of the shutter, helps square the installation, supports the hinges, and covers small gaps between the unit and the opening. Its profile can make the shutter look like part of the millwork—or like an object attached on top of it.
Simple frames tend to suit modern rooms and windows with existing decorative casing. Wider or more detailed frames can complement traditional baseboards, crown molding, and door casings. An outside-mount frame may cover existing trim or sit beside it, depending on the opening. That junction should be planned, not improvised during installation.
Look at the frame from the side as well as the front. Ask how much glass it will cover and whether caulk or filler strips will be visible. On grouped windows, confirm how frame joints and center posts will align. If the home has deep sills, make sure the selected frame will not interfere with objects normally placed there.
Color also matters at the frame-to-trim transition. An almost-white shutter beside a distinctly different white casing can look more mismatched than a deliberate contrasting finish.
8. Treat color as an architectural choice
White and warm-white shutters remain popular because they reflect light and coordinate with common Florida trim colors. But “white” is not one color. Undertones can be blue, gray, cream, or yellow, and bright coastal daylight can make those differences more visible.
Compare the shutter sample with the window casing, baseboards, cabinets, and wall color at different times of day. If the trim will be repainted soon, decide whether the shutter should match the future color rather than the current one. A painted shutter usually looks most integrated when it matches or intentionally complements the millwork.
Stained wood can add warmth and show natural grain. It works especially well when the room already contains visible wood in flooring, beams, furniture, or cabinetry. Matching every wood tone exactly is rarely necessary; coordinating undertones and level of contrast is more realistic.
Dark shutters can create a strong architectural frame and can look excellent against light walls. They also make dust more visible and may absorb more solar energy at very sunny windows, so discuss finish suitability and product limitations with the maker.
Ask what coating system is used, how it is cured, whether emissions information is available, and what the care instructions prohibit. “Waterborne,” “low-VOC,” and “zero-VOC” describe different product characteristics, so request the exact finish specification rather than relying on a broad adjective.
9. Match the design to the room
- Living rooms: Prioritize the view and align divisions with window mullions. Larger louvers often suit broad waterfront or garden views.
- Bedrooms: Consider a divider rail for lower privacy and upper daylight. Shutters darken a room, but a secondary shade or drapery may be needed for near-blackout conditions.
- Kitchens: Check faucets, cabinet doors, counters, and cleanability before deciding panel swing.
- Bathrooms: Discuss exact humidity, ventilation, direct-water exposure, finish, and warranty terms rather than relying on a generic moisture claim.
- Offices: Plan around sun direction and screen glare during working hours.
- Doors and shapes: French doors, sliders, arches, circles, and angles need purpose-built hardware and geometry. Review comparable door and specialty-shape projects.
10. Evaluate how the shutters are made and installed
The sample panel is only part of the product. Ask who measures, who makes the shutters, who installs them, and who handles service later. If different companies are responsible for each step, find out who owns a fit problem.
Useful questions include:
- What is the exact material and species or composition?
- Where are the shutters manufactured?
- Are the panels built for my measured openings or altered from standard sizes?
- What panel widths and heights are recommended for this material?
- How are louvers joined and tensioned?
- What finish is used, and how should it be cleaned?
- Does the quoted price include measuring, frames, hardware, installation, and cleanup?
- What is the expected production time?
- What does the warranty cover for the product, finish, hardware, and installation?
- Who performs adjustments or repairs after installation?
Professional measuring should include more than a laser reading of width and height. The technician should check for out-of-square openings, bows, obstructions, and panel swing. Installation should leave consistent reveals, smooth panel movement, and louvers that hold their position.
How much do plantation shutters cost?
Square footage is usually only the starting point. Material, frame, panel layout, finish, shapes, door hardware, and installation all affect the total. Compare written quotes for the same specifications; the plantation shutter cost guide in this series provides a complete checklist.
Read the warranty rather than relying on the word “lifetime.” Confirm coverage for the structure, finish, hardware, installation labor, shipping, and service calls, plus exclusions for moisture, misuse, settling, pets, and cleaning products. A useful warranty should also explain exactly whom to contact and what evidence or inspection is required when service is needed.
A simple decision checklist
Before approving a plantation shutter order, confirm that you can answer yes to each question:
- Do I know what the shutters are made from?
- Does the proposed mount work with the depth and condition of my windows?
- Have I seen the chosen louver size at full scale?
- Does the panel layout align with the glass and window mullions?
- Will the panels clear nearby walls, cabinets, faucets, and handles?
- Have I compared the finish with my trim in the actual room?
- Does the quote list measuring, installation, frames, and specialty work?
- Do I understand the production timeline and service process?
- Have I read the warranty and care instructions?
If one answer is no, pause and get the missing detail. The best time to resolve an ambiguity is before fabrication.
Frequently asked questions
Are plantation shutters a good choice for Florida homes?
They can be. Shutters provide adjustable light and privacy, create an added layer at the glass, and suit many coastal and traditional interiors. The result depends on material, fit, window orientation, and how the louvers are used. They should not be confused with exterior hurricane shutters.
What louver size gives the best view?
Larger louvers generally create fewer horizontal lines and a broader opening between louvers when tilted. The best size also depends on window depth and scale. A 3½-inch louver is a common middle option, but it should be evaluated at the actual window.
Do shutters have to match the trim?
No, but matching the trim often creates the most built-in look. A deliberate dark or stained contrast can also work. The risky choice is an almost-match with a visibly different undertone.
Can plantation shutters be installed on sliding and French doors?
Yes, with configurations designed for the door. French doors may need handle cutouts, while sliding doors need a track, bypass, or folding arrangement with enough stacking space.
How long does installation take?
Installation time depends on the number and complexity of openings. Fabrication usually takes far longer than the in-home installation. Ask for separate production and installation estimates and find out what could change either timeline.
Should every room use the same shutter design?
Not necessarily. Keeping the same color and frame family can make the home feel consistent while allowing louver size, divider rails, and panel layouts to respond to each room.
Final thought: choose for the way you live
The most successful shutters are not simply the ones that look best in a brochure. They are the ones that make sense at 7 a.m. when you want soft daylight, at 3 p.m. when west sun hits the glass, and at night when privacy matters. A careful plan connects those daily needs with the actual window and the way the shutter is built.
Homeowners in Palm Beach, Martin, St. Lucie, and Indian River counties can use this guide with a local manufacturer, an independent dealer, or a national brand. Bring a short list of room priorities, photograph each opening, and ask for the material, panel layout, finish, timeline, and warranty in writing. A clear proposal should make the decision easier—not create pressure to decide before the details are understood.